
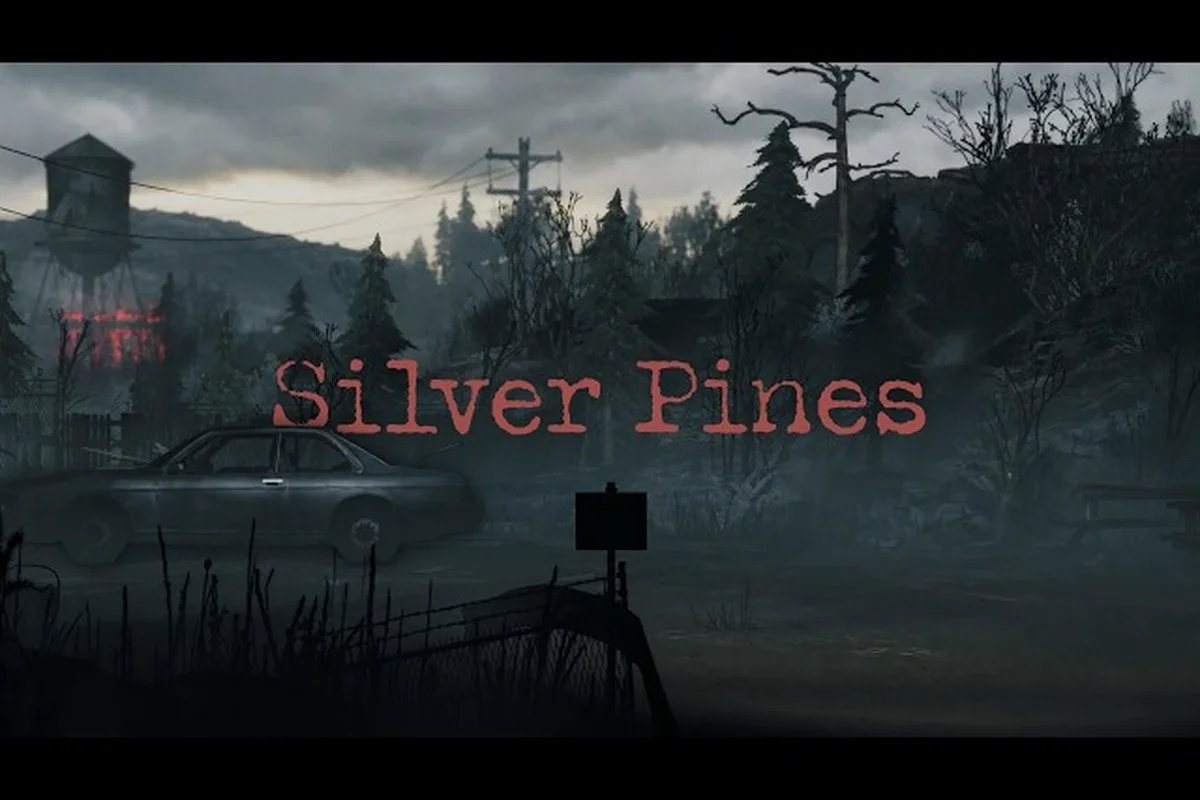
Solving every puzzle in Silver Pines requires more than just finding the right combination—it demands knowing the correct sequence, the items you need to carry, and the moments when a single missed clue can lock you out of a room. This Silver Pines puzzle spoiler guide lays out the full walkthrough order so you can move through the fog without wasting hours backtracking. Whether you are hunting for a missing photograph or trying to replay a specific brain-teaser, the checklist below keeps every step accounted for.
The Full Puzzle Chain in Walkthrough Order
The puzzle chain in Silver Pines is not a random collection of locked doors and static screens. It follows a deliberate progression that ties environmental storytelling to mechanical unlocks, which means the order you tackle each challenge matters more than most players expect. According to community data gathered from multiple playthroughs, the game tracks certain puzzle states behind the scenes, and completing them out of sequence can leave you with a missing puzzle item that blocks progress until you revisit an earlier room.
How the Walkthrough Order Works
The core sequence splits into three broad phases: the Town Perimeter, the Fog Corridor, and the Archive Basement. Each phase contains between four and seven individual puzzles, and the game expects you to resolve them in roughly that order. The table below summarizes the phase structure and what you need before entering each one.
| Phase | Puzzle Count | Required Items | Lockout Risk |
|---|---|---|---|
| Town Perimeter | 4 | Map Fragment A, Rusty Key | Low |
| Fog Corridor | 6 | UV Lantern, Tuning Fork | Medium |
| Archive Basement | 5 | Photo Lens, Cipher Wheel | High |
The Town Perimeter phase introduces the basic interaction language: rotating dials, pressure plates, and one early safe combination that teaches you how the game hides numbers inside environmental details. Because this phase has a low lockout risk, it functions as a tutorial layer that most players clear without realizing they are being trained for the harder sequences ahead.
What Counts as a Spoiler
A full spoiler guide reveals exact solutions, while a Silver Pines puzzle walkthrough no spoilers approach gives you the logic without handing over every answer. This article leans toward the spoiler side for the walkthrough order and item locations, but it preserves the reasoning steps so you can still feel the satisfaction of solving the final input yourself. The distinction matters because some puzzles have multiple valid inputs depending on which clues you found earlier, and a rigid solution list can actually mislead you if your playthrough diverged.
Complete Walkthrough Order for Every Puzzle
The full sequence below covers all Silver Pines puzzles in the order the game expects you to encounter them. Each entry includes the puzzle name, the trigger condition, and the key item or clue that unlocks the solution. If you follow this order exactly, you will never hit a wall where the game expects an item you have not yet picked up.
Phase One: Town Perimeter
The opening phase teaches you the core loop: find a visual clue, translate it into a mechanical input, and confirm the result with an audio or environmental cue. The four puzzles here are deliberately ordered so that each one adds exactly one new interaction rule — the Clocktower Dial establishes reading environmental markers, the Cemetery Gate layers in multi-part numerical sequences, the General Store Safe forces you to cross-reference two separate documents, and the Radio Static Panel introduces the first frequency-based input. This graduated design means you can isolate which mechanic is tripping you up instead of brute-forcing every lock in town.
| Order | Puzzle | Trigger | Key Clue |
|---|---|---|---|
| 1 | Clocktower Dial | Enter the square | Minute hand position on the mural |
| 2 | Cemetery Gate | Read the gravestone dates | Three-digit year sequence |
| 3 | General Store Safe | Find the ledger note | Receipt totals in the drawer |
| 4 | Radio Static Panel | Tune the radio to 104.6 | Frequency printed on the wall |
The Radio Static Panel deserves special attention because it introduces the static-clearing mechanic that returns in later phases. When you tune to the correct frequency, the screen flickers and reveals a hidden symbol that you will need for the Fog Corridor gate. Missing this symbol is one of the most common reasons players report getting stuck at the next phase boundary.
Phase Two: Fog Corridor
Once you enter the Fog Corridor, the game stops holding your hand. The six puzzles here require you to combine clues from multiple rooms, and the UV Lantern becomes your most important tool because it reveals ink that is invisible under normal light. The sequence is:
| Order | Puzzle | Required Item | Solution Type |
|---|---|---|---|
| 5 | Fog Gate Symbol Lock | Symbol from Radio Static | Four-symbol sequence |
| 6 | Boiler Room Valve Puzzle | Pipe Wrench | Pressure balancing |
| 7 | Mirror Reflection Room | UV Lantern | Hidden text alignment |
| 8 | Elevator Code Panel | Cipher Wheel | Letter-to-number mapping |
| 9 | Greenhouse Water Puzzle | Empty Canister | Fill order by plant height |
| 10 | TV Static Override | Tuning Fork | Frequency match to hum |
The TV Static Override puzzle is the one most players search for when they look up a Silver Pines puzzle spoiler guide, because the solution requires you to match a tuning fork frequency to a barely audible hum that plays only when the TV is turned on. If you are struggling with this specific mechanic, the TV static puzzle breakdown covers the frequency ranges and common missteps in more detail.
Phase Three: Archive Basement
The final phase locks the hardest puzzles behind the Archive Basement door, and this is where the Photo Lens becomes essential. You cannot even read the Archive Door Photo Lock without equipping the Photo Lens, because the lock surface renders as a blank brass plate until the lens overlay decodes the hidden negative-space numerals — a deliberate gate that catches players who burned the Photo Lens charge earlier on the Greenhouse Shutter puzzle. The five puzzles here are:
| Order | Puzzle | Required Item | Lockout Risk |
|---|---|---|---|
| 11 | Archive Door Photo Lock | Photo Lens | High |
| 12 | Film Reel Sequence | Reel 3 | Medium |
| 13 | Projector Alignment | UV Lantern | High |
| 14 | Vault Combination | Cipher Wheel | High |
| 15 | Final Fog Dispersion | All previous items | None after completion |
The Vault Combination is the only puzzle in the game that changes its solution based on how many optional clues you collected earlier. If you skipped the Film Reel Sequence or the Projector Alignment, the vault displays a shorter code that still works, but it locks you out of the true ending room. This is why the walkthrough order matters: the game never tells you that skipping a puzzle silently downgrades your ending.
Missing Puzzle Items and How to Recover Them
The most frustrating moment in Silver Pines is standing in front of a puzzle and realizing you are missing the one item that makes it solvable. The game does not always mark these items on your map, and some of them are hidden inside rooms you have already cleared. The checklist below covers every missing puzzle item players commonly report, where to find it, and whether you can return for it later.
Item Recovery Table
| Missing Item | Location | Returnable? | Notes |
|---|---|---|---|
| Map Fragment A | Town Hall drawer | Yes | Behind the Clocktower Dial room |
| Rusty Key | Cemetery shed | Yes | Under the loose floorboard |
| UV Lantern | General Store back room | Yes | Requires the General Store Safe first |
| Tuning Fork | Radio station shelf | Yes | Only appears after Radio Static Panel |
| Photo Lens | Archive lobby display case | No after Fog Gate | Grab before entering Fog Corridor |
| Cipher Wheel | Boiler room locker | Yes | Combination is the Boiler Room Valve pressure |
| Reel 3 | Projection booth | No after Film Reel Sequence | Missable if you skip the booth |
The Photo Lens is the most dangerous missable item in the game because it sits in the Archive lobby before the Fog Gate, but the game never prompts you to pick it up. If you walk past it and enter the Fog Corridor, the door seals behind you and the lens becomes unreachable in that playthrough. Community reports consistently flag this as the number one reason players need a Silver Pines puzzle replay guide to start over.
Why Some Items Disappear
A few items are tied to puzzle state flags rather than physical locations. The Tuning Fork, for example, only spawns on the radio station shelf after you complete the Radio Static Panel in the Town Perimeter. If you visit the radio station before solving that puzzle, the shelf is empty, and the game gives you no indication that the item will appear later. This is why the walkthrough order in the previous section is so important: following it ensures every item is present when you reach its puzzle.
Replay Guide: Solving Puzzles Again Without a Full Restart
Not every puzzle in Silver Pines requires a full playthrough to experience again. The game includes a chapter select feature that unlocks after you finish the main story, and it lets you jump back to specific puzzle rooms without replaying the entire game. However, the chapter select system has quirks that affect which items carry over and which puzzles reset their state.
How Chapter Select Handles Puzzle State
When you load a chapter from the select menu, the game restores the puzzle state from that chapter's starting point, not from your current save. This means any item you collected in a later chapter is unavailable, and any puzzle you solved in an earlier chapter is already completed. The table below shows how each phase behaves under chapter select.
| Phase | Puzzle State | Items Available | Best For |
|---|---|---|---|
| Town Perimeter | Reset to unsolved | Phase one items only | Replaying early tutorials |
| Fog Corridor | Reset to unsolved | Phase one and two items | Practicing static and valve puzzles |
| Archive Basement | Reset to unsolved | All items except Reel 3 | Replaying the vault and ending |
The Reel 3 exception is important: because it is a missable item tied to a puzzle state flag, chapter select does not restore it if you missed it in your original playthrough. You have to start a new game and follow the walkthrough order from the beginning to get it back. This is a known quirk that the community has documented extensively, and it is the main reason the Silver Pines puzzle replay guide approach recommends a fresh save for completionist runs.
Replaying for the True Ending
The true ending requires every puzzle in the Archive Basement to be solved, including the optional Film Reel Sequence and Projector Alignment. If your first playthrough skipped either of those, chapter select will not help because the Vault Combination already locked in the shorter code. You need a new playthrough where you grab Reel 3 before the film puzzle and align the projector before touching the vault. The full puzzle guide walks through the complete solution logic for each of these if you want the reasoning behind the inputs.
Puzzle Checklist for Completionist Runs
A Silver Pines puzzle checklist is the most practical tool for a completionist run because the game does not track puzzle completion anywhere in the UI. You have to rely on your own notes or an external list, and missing a single optional puzzle can silently downgrade your ending. The checklist below covers every puzzle, the item you need, and the confirmation cue that tells you the puzzle is actually complete.
Full Completion Checklist
| Puzzle | Item Needed | Confirmation Cue | Optional? |
|---|---|---|---|
| Clocktower Dial | None | Bell rings twice | No |
| Cemetery Gate | None | Gate creaks open | No |
| General Store Safe | Ledger note | Safe clicks | No |
| Radio Static Panel | None | Static clears | No |
| Fog Gate Symbol Lock | Symbol from radio | Fog thins | No |
| Boiler Room Valve Puzzle | Pipe Wrench | Pressure gauge steadies | No |
| Mirror Reflection Room | UV Lantern | Mirror shows a door | No |
| Elevator Code Panel | Cipher Wheel | Elevator hums | No |
| Greenhouse Water Puzzle | Empty Canister | Plants straighten | No |
| TV Static Override | Tuning Fork | TV shows a map | No |
| Archive Door Photo Lock | Photo Lens | Door hisses open | No |
| Film Reel Sequence | Reel 3 | Projector whirs | Yes |
| Projector Alignment | UV Lantern | Image sharpens | Yes |
| Vault Combination | Cipher Wheel | Vault door swings | No |
| Final Fog Dispersion | All items | Fog lifts | No |
The two optional puzzles—Film Reel Sequence and Projector Alignment—are the only ones that affect the ending, but they are also the easiest to miss because the game never points you toward them. The Film Reel Sequence requires you to enter the projection booth before the Vault Combination, and the Projector Alignment requires the UV Lantern to reveal alignment marks on the wall. If you want to explore the optional rooms that hide some of these clues, the side areas walkthrough maps out every hidden space in the Archive Basement.
Confirmation Cues to Watch For
Every puzzle in Silver Pines has a confirmation cue that tells you the input registered correctly. These cues are audio or environmental rather than UI popups, which is why players sometimes miss them and assume a puzzle is still unsolved. The Clocktower Dial rings a bell twice, the General Store Safe produces a mechanical click, and the Fog Gate Symbol Lock visibly thins the fog around the gate. Learning to recognize these cues prevents you from re-entering a correct solution and potentially resetting the puzzle state.
Frequently Asked Questions
What is the fastest way to solve all Silver Pines puzzles?
Follow the walkthrough order in this guide and grab every item before entering the Fog Corridor. The Photo Lens is the most critical pickup because it becomes unreachable after the Fog Gate seals. Completing the two optional Archive Basement puzzles unlocks the true ending.
Can I replay puzzles without starting a new game?
Yes, chapter select unlocks after the main story and lets you jump back to specific puzzle rooms. However, chapter select resets puzzle state to the chapter start and does not restore missable items like Reel 3. A fresh save is required for a full completionist run.
Which puzzle items are permanently missable?
The Photo Lens and Reel 3 are the two permanently missable items. The Photo Lens sits in the Archive lobby before the Fog Gate, while Reel 3 is inside the projection booth. Missing either one locks you out of the true ending.
Do I need to solve every puzzle to finish the game?
No, the main story only requires the non-optional puzzles, so you can skip the Film Reel Sequence and Projector Alignment and still reach the credits. However, the Vault Combination reacts to those omissions: without the film and projector clues, the vault displays a shortened code that opens the door but routes you away from the true ending room, leaving the Archive Basement finale locked behind a second, full-code entry.
Why does the vault combination change between playthroughs?
The Vault Combination adapts to how many optional clues you collected. If you solved the film and projector puzzles, the vault shows the full code. Skipping them produces a shorter code that works but downgrades your ending. This means a run that ignores Reel 3 or the Photo Lens still opens the vault door, but the shortened code routes you into the standard credits hallway instead of the Archive Basement finale, forcing a second full-code entry on a fresh save if you want the true ending.