
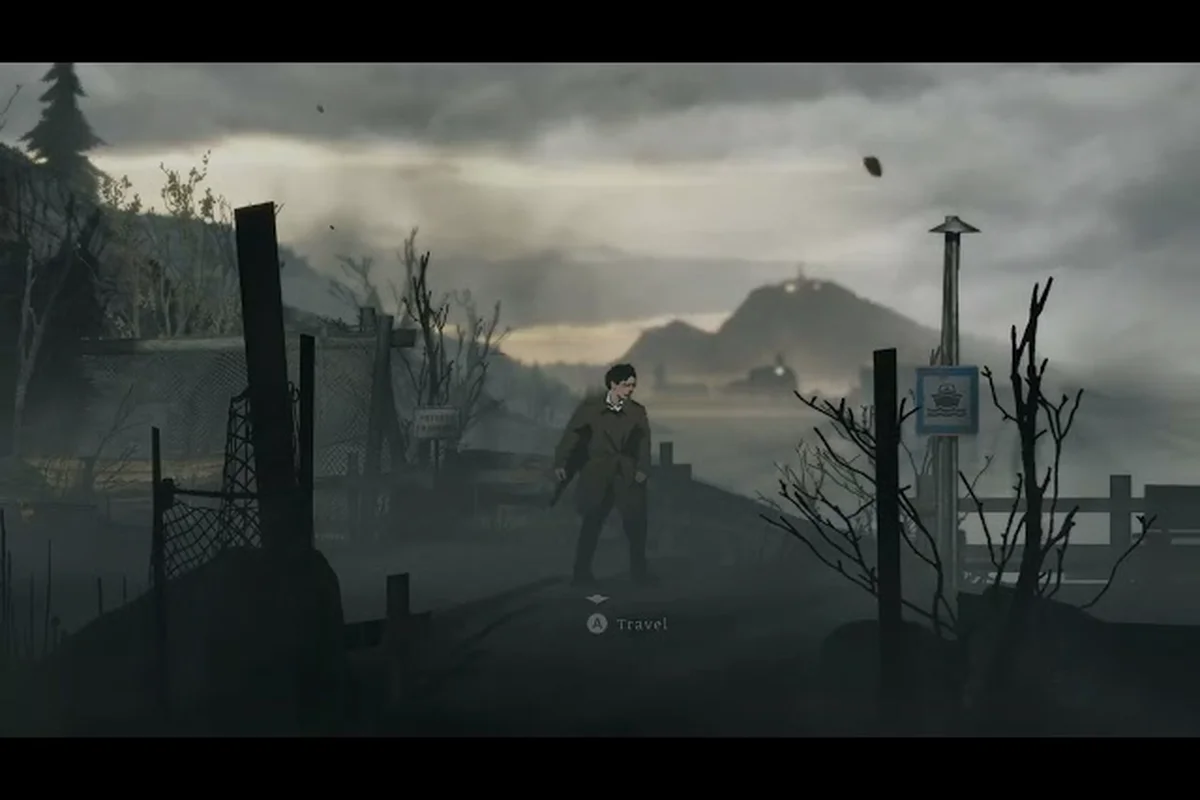
Survival in Silver Pines depends less on how well you fight and more on how quickly you recognize a losing battle. Knowing when to run from enemies preserves your health, resources, and run progress, especially in the game's densest patrol zones. This guide breaks down the exact flee triggers, hot spot layouts, and flicker warnings that separate a clean escape from a forced respawn.
Understanding Silver Pines Enemy Hot Spots Map
The enemy hot spots map in Silver Pines is not a static overlay but a shifting pattern of patrol density that changes with time of day and your current objective. Community mapping efforts have identified three core zones where enemy concentration spikes dramatically, and each zone demands a different retreat strategy. The Forest Edge Corridor sits between the starting safehouse and the first supply cache, while the Underground Maintenance Tunnels form a winding network beneath the town's central district. The third zone, Riverside Watch, combines open sightlines with dense fog cover that masks approaching threats until they are nearly on top of you.
| Hot Spot Zone | Primary Enemy Type | Density Level | Best Retreat Direction |
|---|---|---|---|
| Forest Edge Corridor | Stalker variants | High during dusk | Back toward safehouse trail |
| Underground Maintenance Tunnels | Crawler packs | Very high, constant | Up nearest ladder or vent shaft |
| Riverside Watch | Fog Wraiths | Medium, spikes at night | Toward the bridge checkpoint |
| Old Mill Approach | Brute patrols | High, slow-moving | Side path through tall grass |
| Schoolhouse Yard | Mixed swarm | Low daytime, extreme after dark | Through the broken fence gap |
Each zone's density rating comes from repeated player observations rather than official documentation, so treat these as reliable patterns rather than fixed spawn counts. The Underground Maintenance Tunnels consistently rank as the most dangerous hot spot because retreat options are limited to narrow corridors and ladder chokepoints. When you enter this area, identify your exit route before engaging anything, because the moment you hear the first Crawler screech, the pack has already begun converging on your position.
Reading Patrol Density Before You Commit
Patrol density in Silver Pines follows a predictable rhythm that experienced players learn to read within their first few runs. The Forest Edge Corridor thins out during mid-morning, while the Riverside Watch becomes nearly impassable after the fog rolls in around dusk. Understanding this rhythm lets you plan supply runs through low-density windows instead of gambling on a blind sprint. The game's ambient audio shifts subtly when patrol density increases, with distant footsteps and branch snaps growing more frequent roughly thirty seconds before a pack appears.
The most reliable pre-engagement signal is the enemy flicker guide mechanic, which causes hostile silhouettes to stutter or phase briefly at the edge of your vision. This flicker is not a rendering bug but an intentional warning system that tells you an enemy has locked onto your position. When you see a flicker pulse on a distant shape, you have roughly two to three seconds to break line of sight before the enemy commits to a full pursuit. Players who ignore this cue and continue looting frequently report losing half their health bar to an ambush that felt instant but was actually telegraphed well in advance.
Silver Pines Forest Enemies and When to Disengage
Forest enemies in Silver Pines operate on a different engagement logic than their underground counterparts. The Stalker variant that dominates the Forest Edge Corridor relies on patience and positioning rather than raw speed, which means you can often escape simply by breaking visual contact and changing elevation. The forest canopy provides natural cover that underground tunnels lack, but it also hides branch-runner enemies that attack from above without any ground-level warning.
| Forest Enemy Type | Attack Pattern | Flee Trigger | Safe Distance |
|---|---|---|---|
| Stalker variant | Slow approach, lunging strike | Second flicker pulse | 15+ meters with cover |
| Branch-runner | Drops from canopy | First branch shake | 20+ meters, avoid trees |
| Fog Wraith | Phases through obstacles | Fog density spike | Exit fog bank entirely |
| Thorn Hound | Fast ground charge | Growl audio cue | 10+ meters, zigzag path |
| Root Lurker | Grabs from below | Ground crack sound | Stay on paved paths |
The Thorn Hound presents a particularly deceptive threat because its charge attack looks survivable but often chains into a knockdown that leaves you vulnerable to the rest of the pack. Community testing suggests that the knockdown window lasts nearly three full seconds, which is more than enough time for two additional enemies to close distance. If you hear the growl audio cue that precedes a Thorn Hound charge, your best option is to break into a zigzag sprint toward paved ground, because the hound's turning radius tightens significantly on loose forest floor.
The Fog Wraith Problem at Riverside Watch
Fog Wraiths represent the most dangerous forest enemy type because they ignore the physical barriers that stop every other threat. These enemies phase through trees, fences, and even walls, which means the standard tactic of putting a solid object between you and your pursuer simply does not work. The only reliable escape from a Fog Wraith is to exit the fog bank entirely, because the enemy's phasing ability appears tied to the fog's density rather than its own movement speed.
Players who attempt to fight Fog Wraiths inside the fog report that their attacks connect less than half the time, while the wraith's own strikes land with consistent accuracy. This asymmetry makes engagement a losing proposition in almost every scenario. The fog density spike that precedes a wraith attack is your signal to move toward the nearest fog boundary, and the bridge checkpoint at Riverside Watch provides the fastest exit point when you are caught in the open. The silver pines stealth guide covers the audio cues that help you detect wraiths before they detect you, which is especially valuable in this zone.
Silver Pines Underground Enemies and Escape Routes
Underground enemies in Silver Pines punish hesitation more severely than any other enemy category. The Crawler packs that infest the Maintenance Tunnels move in groups of four to six, and their screech call triggers a swarm response that brings every nearby crawler to your location within seconds. Unlike forest enemies that give you room to reposition, underground enemies force you to commit to an escape route immediately, because the tunnel geometry funnels both you and your pursuers into the same narrow channels.
| Tunnel Section | Enemy Density | Escape Route | Risk Level |
|---|---|---|---|
| East Vent Shaft | Low, single Crawler | Ladder to surface | Low |
| Central Pump Room | Very high, mixed pack | Side vent, crouch required | Extreme |
| West Storage Corridor | Medium, patrolling Brute | Double-back to junction | High |
| South Drainage Pipe | High, Crawler swarm | Crouch-run to grate exit | Very high |
| North Generator Hall | Low, single Lurker | Main stairwell | Medium |
The Central Pump Room stands out as the single most dangerous underground location in the entire game, because it combines extreme enemy density with the worst escape geometry. The only exit that does not require passing through the main pack is a side vent that forces you into a crouch animation, which slows your movement enough that a pursuing Crawler can land one or two hits before you clear the opening. Players who attempt to fight through the Central Pump Room instead of using the vent consistently report losing their entire supply of healing items in a single encounter.
Ladder and Vent Priority During Underground Retreats
When you decide to run from underground enemies, your escape priority should always be ladders first, vents second, and corridor sprints last. Ladders provide the fastest vertical escape because most underground enemy types cannot climb, which creates an immediate hard break in pursuit. The Crawler and Root Lurker variants both lack climbing animations entirely, so reaching a ladder effectively ends the encounter regardless of how many enemies are chasing you.
Vents are slower but still valuable because they force pursuing enemies into single-file formation, which neutralizes the pack advantage that makes underground swarms so dangerous. The crouch animation that vents require does leave you vulnerable for roughly one second, so time your vent entry for the moment when the nearest enemy is at least ten meters behind you. Corridor sprints should be your last resort, because the straight-line geometry of tunnel corridors plays directly into the strengths of fast-charging enemies like the Thorn Hound variant that occasionally patrols the deeper sections. The silver pines run past enemies guide breaks down the specific dodge timings that let you slip past enemies when a full retreat is not possible.
The Enemy Flicker Guide and Flee Decision Timing
The enemy flicker guide is the single most important survival mechanic in Silver Pines, yet many players misinterpret its signals or miss them entirely during tense moments. The flicker effect manifests as a brief visual stutter on enemy silhouettes, lasting roughly half a second, and it always precedes a hostile action by two to three seconds. Understanding the difference between a curiosity flicker and an aggression flicker is the key to knowing when to hold your ground and when to run.
| Flicker Type | Visual Signature | Meaning | Recommended Response |
|---|---|---|---|
| Curiosity flicker | Single pulse, enemy stationary | Enemy noticed something | Freeze, assess position |
| Aggression flicker | Double pulse, enemy moving | Enemy locked onto you | Break line of sight immediately |
| Swarm flicker | Triple pulse, multiple enemies | Pack coordination signal | Full sprint to nearest exit |
| Fade flicker | Enemy becomes translucent | Fog Wraith phasing attack | Exit fog bank |
| Stalk flicker | Enemy disappears then reappears closer | Stalker repositioning | Change elevation or cover |
The aggression flicker is your universal flee trigger, because it means the enemy has already committed to an attack sequence that you cannot interrupt with normal means. When you see the double pulse, you have roughly two seconds to break line of sight before the enemy's pursuit speed increases by a significant margin. The swarm flicker is even more urgent, because it indicates that multiple enemies are coordinating their approach and will attempt to surround you rather than chase in a straight line.
Flicker Timing in Different Zones
Flicker timing varies by zone because each enemy type telegraphs its intentions at different ranges. In the Forest Edge Corridor, you will typically see the first flicker when an enemy is still fifteen to twenty meters away, which gives you comfortable time to reposition. In the Underground Maintenance Tunnels, the flicker often appears when the enemy is already within ten meters, because the tight corridors compress engagement distances dramatically.
This zone-based timing difference explains why underground encounters feel so much more dangerous than forest encounters even when the enemy types are similar. The compressed flicker window in tunnels means you must react almost instantly to the first visual cue, while forest encounters allow you to process the signal and choose between multiple escape routes. Players who struggle with underground survival should practice reading flicker signals in the forest first, because the longer warning window builds the recognition pattern that transfers to tighter environments. The silver pines night enemies guide explains how darkness and fog modify these flicker timings, which becomes critical during late-game runs.
Building a Personal Flee Zone Map for Silver Pines
Creating your own flee zone map transforms the abstract advice in this guide into a practical survival tool. Start by marking the three core hot spots on your mental map, then identify the fastest exit route from each location before you ever enter it. This pre-planning step matters because the moment an aggression flicker appears, you will not have time to evaluate your options, and having a pre-committed escape route eliminates the hesitation that gets players killed.
| Planning Step | Action | Why It Matters |
|---|---|---|
| Zone identification | Mark hot spots on your mental map | Prevents surprise entry into dense areas |
| Exit route selection | Choose fastest exit from each zone | Eliminates hesitation during flee trigger |
| Flicker recognition | Practice reading flicker types | Reduces reaction time by half |
| Resource staging | Place healing items near exits | Enables recovery during retreat |
| Route testing | Run each escape route once safely | Confirms route viability before danger |
The resource staging step is frequently overlooked but provides enormous survival value. By placing a healing item or stamina consumable near your chosen exit route, you create a recovery point that lets you heal during a retreat without stopping to open your inventory. This small preparation step converts a desperate sprint into a controlled withdrawal, because you know exactly where your next resource pickup is located.
Adapting Your Flee Map to Time of Day
Silver Pines enemy behavior shifts dramatically between day and night cycles, and your flee zone map must account for these changes. The Forest Edge Corridor that feels manageable during midday becomes a gauntlet after dusk, when Stalker variants gain increased detection range and the fog begins rolling in from the river. The Riverside Watch zone flips from a relatively safe daytime route to a near-death trap at night, because Fog Wraiths spawn in greater numbers and the reduced visibility makes their flicker signals harder to spot.
Experienced players recommend completing any necessary forest travel during the mid-morning window, when enemy density is at its lowest and visibility is at its peak. Underground zones are less affected by the day-night cycle, which makes them a safer option for night travel despite their higher base density. This inversion surprises many new players who assume the surface is always safer than the tunnels, but the consistency of underground enemy behavior actually makes it more predictable once you learn the patrol patterns.
Frequently Asked Questions
How do I know when to run from enemies in Silver Pines?
The aggression flicker is your primary flee trigger. When an enemy silhouette pulses twice in quick succession, it has locked onto your position and will begin pursuit within two to three seconds. Break line of sight immediately and head toward your pre-planned exit route.
What is the most dangerous enemy hot spot in Silver Pines?
The Central Pump Room in the Underground Maintenance Tunnels ranks as the most dangerous hot spot because it combines extreme enemy density with the worst escape geometry. The only safe exit is a side vent that forces a crouch animation, leaving you vulnerable during the retreat.
Do Silver Pines forest enemies chase you across zone boundaries?
Most forest enemies will pursue you across zone boundaries, but their behavior changes when you enter a new area. Fog Wraiths are tied to fog density and will abandon pursuit when you exit the fog bank, while Stalker variants lose interest once you break line of sight for several seconds.
Can I fight underground enemies instead of running?
Fighting underground enemies is viable only in low-density sections like the East Vent Shaft or North Generator Hall. In high-density areas like the Central Pump Room, the swarm response triggered by Crawler screeches makes combat a losing proposition regardless of your equipment.
Does the enemy flicker guide work the same at night?
The flicker mechanic functions identically at night, but reduced visibility makes the visual pulses harder to spot. Fog Wraiths also gain additional phasing behavior after dark, which means you should rely more heavily on audio cues and exit fog banks earlier than you would during daytime.